Boiling Mouthguard Instructions: A Comprehensive Guide
Successfully fitting a boil-and-bite mouthguard requires careful attention to detail‚ ensuring optimal protection and comfort․ This guide provides
a thorough walkthrough‚ covering preparation‚ the boiling process‚ fitting techniques‚ and essential post-fitting care․ Following these instructions
will help you achieve a customized fit for your mouthguard‚ maximizing its effectiveness during sports or other activities․ Remember to
consult the specific instructions included with your mouthguard‚ as variations may exist between brands like Shock Doctor’s Gel Max Power․
Understanding the Need for Boiling
Boiling isn’t about sterilization; it’s about activating the thermoplastic material within the mouthguard․ These mouthguards are manufactured in a
hardened state‚ making them initially rigid and unable to conform to your unique dental structure․ The heat from the boiling water softens
the material‚ rendering it pliable and moldable․ This allows the mouthguard to adapt to the contours of your teeth‚ gums‚ and jaw during the
fitting process‚ creating a personalized and secure fit․ Without boiling‚ the mouthguard would be uncomfortable‚ offer inadequate protection‚
and likely fall out during use․
The process ensures a snug fit‚ crucial for absorbing and dissipating impact forces‚ preventing dental injuries‚ and minimizing the risk of
concussions․ Different types of mouthguards‚ particularly those designed for contact sports‚ necessitate this boiling and molding procedure
to deliver the intended level of protection․
Types of Mouthguards Requiring Boiling
Generally‚ “boil-and-bite” mouthguards are the types that necessitate this heat-molding process․ These are commonly found in sporting goods stores
and are designed for a wide range of activities‚ including football‚ basketball‚ hockey‚ and boxing․ Specifically‚ the Shock Doctor Gel Max Power
mouthguard is a prime example‚ explicitly requiring boiling for proper fitting․ These mouthguards utilize a thermoplastic material that softens
with heat‚ allowing for customization․
Conversely‚ custom-fitted mouthguards created by a dentist don’t require boiling; they are made from impressions of your teeth․ Similarly‚
pre-formed‚ non-moldable mouthguards also don’t need boiling․ However‚ if you’ve purchased a mouthguard intended to be customized with heat‚
boiling is a critical step to ensure a secure and protective fit․ Always check the product packaging for specific instructions․
Materials and Equipment Needed
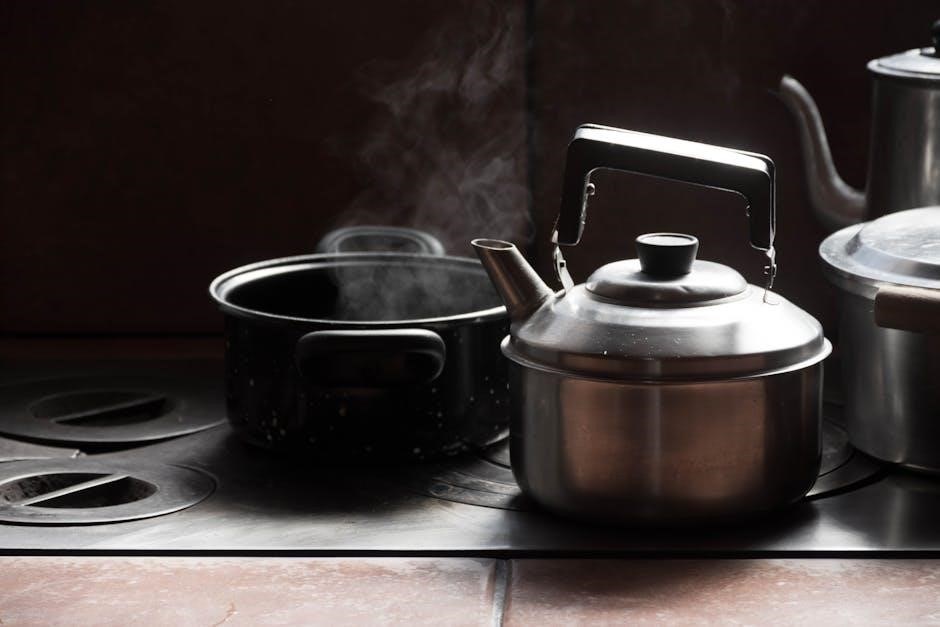
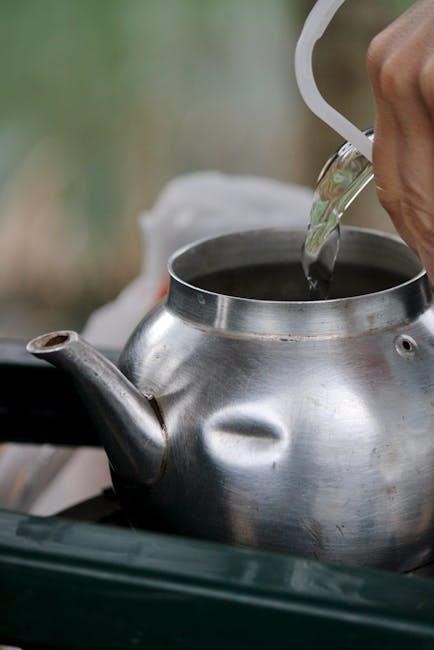
To successfully boil and fit your mouthguard‚ gathering the correct materials is essential․ You’ll require a saucepan capable of holding
3 to 4 inches of water‚ as recommended by Shock Doctor’s fitting instructions․ Access to clean‚ potable water is crucial; A slotted spoon
is needed for safe removal of the mouthguard from the hot water․ A mirror will aid in visibility during the fitting process‚ allowing you
to observe the mouthguard’s adaptation to your teeth․
Furthermore‚ a reliable timer or clock with a second hand is vital for accurately timing the boiling and cooling durations․ Having a bowl
of cool water nearby is also beneficial for quickly cooling the mouthguard after boiling․ Ensure all items are readily accessible before beginning
the process for a smooth and efficient fitting experience․
Saucepan Selection
Choosing the right saucepan is a foundational step in the mouthguard boiling process․ Opt for a saucepan constructed from a material that
distributes heat evenly‚ preventing hot spots that could potentially warp the mouthguard’s shape․ Stainless steel is an excellent choice due
to its durability and even heating properties․ The saucepan should be adequately sized to comfortably submerge the mouthguard in 3 to 4 inches
of water‚ as suggested by fitting guides like Shock Doctor’s․
Avoid using non-stick coated pans‚ as the high temperatures and potential scratching during removal could compromise the coating․ Ensure the
saucepan is clean and free of any residue before use․ A dedicated saucepan for mouthguard fitting is recommended to prevent contamination
from food particles or cleaning agents․
Water Quality Considerations
The quality of water used for boiling your mouthguard significantly impacts the fitting process and the material’s integrity․ It’s crucial to
use potable‚ drinkable water – tap water is generally suitable‚ provided it’s free from noticeable impurities or strong odors․ Avoid using
distilled or demineralized water‚ as these lack the necessary minerals for optimal softening of the mouthguard material․
While not explicitly stated in fitting instructions‚ using filtered water can further minimize potential residue buildup on the mouthguard․
Ensure the water is clean and doesn’t contain any soaps‚ detergents‚ or other chemicals․ These substances could interfere with the
mouthguard’s adhesion and potentially cause irritation․ Prioritizing water quality contributes to a hygienic and effective fitting experience․
Timer or Clock Importance
Precise timing is paramount during the boiling and fitting of your mouthguard․ Over-boiling can lead to excessive softening and distortion‚
resulting in a poor fit‚ while insufficient boiling won’t render the material pliable enough for customization․ A timer or clock with a
clearly visible second hand is essential for accurately monitoring the boiling duration․
Shock Doctor’s Gel Max Power instructions specifically recommend letting the water stand for 30 seconds after removing it from the heat
before placing the mouthguard inside․ This cooling period is crucial․ Relying on guesswork can compromise the fit and protective qualities
of the mouthguard․ Consistent timing ensures repeatable results and a properly molded mouthguard‚ maximizing comfort and safety․
Mirror for Visibility
A mirror is an indispensable tool during the fitting process‚ allowing for clear visibility of the mouthguard’s position within your mouth․
Accurate placement is critical for achieving a secure and comfortable fit that provides optimal protection․ Without a mirror‚ it’s difficult
to ensure even contact with your upper teeth and gums․
During the molding phase‚ you’ll need to use your fingers and tongue to shape the softened mouthguard․ A mirror enables you to observe these
adjustments in real-time‚ guaranteeing proper coverage and bite alignment․ This visual feedback is especially important for ensuring the
mouthguard extends far enough back to cover all your teeth․ Proper visibility minimizes errors and maximizes the effectiveness of the fitting process;
Step-by-Step Boiling and Fitting Process
Begin by preparing the mouthguard‚ then carefully boil it according to instructions․ Cooling and fitting follow‚ demanding precise timing and attention to detail for success․
Preparing the Mouthguard
Before initiating the boiling process‚ thoroughly inspect your new mouthguard for any pre-existing defects or damage․ Ensure it’s clean; a quick rinse with cool water is sufficient to remove any dust or debris․ Gather all necessary materials – saucepan‚ slotted spoon‚ mirror‚ bowl of cold water‚ and a timer․ Familiarize yourself with the specific fitting instructions provided by the manufacturer‚ as boiling times can vary․
Having a mirror readily available is crucial for visibility during the fitting stage‚ allowing you to observe the mouthguard’s adaptation to your teeth․ Prepare a comfortable workspace with good lighting․ It’s also wise to have a clock or watch with a clear second hand nearby to accurately monitor the boiling and cooling durations․ Proper preparation streamlines the process and contributes to a successful‚ custom fit․
Boiling the Mouthguard
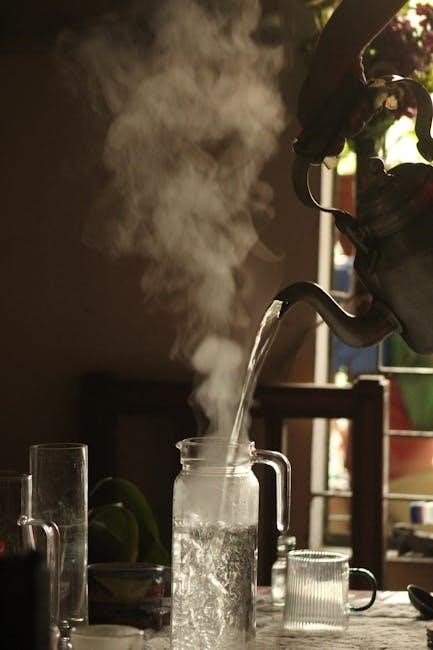
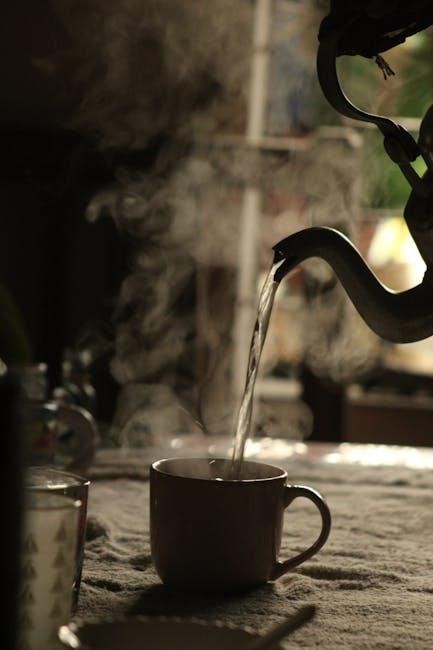
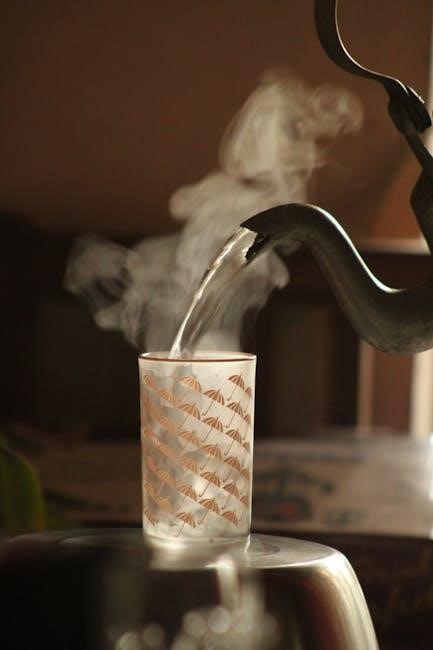
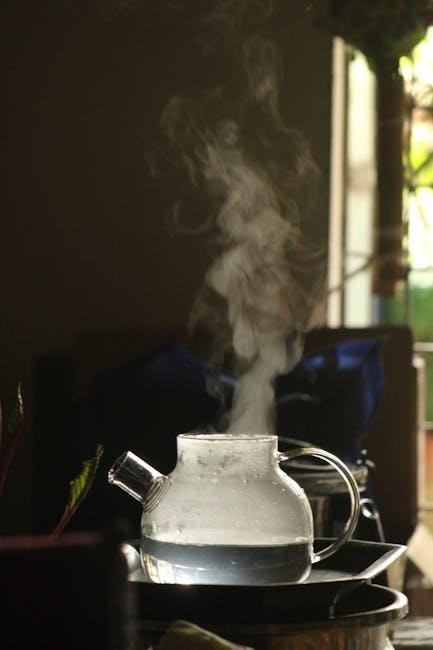
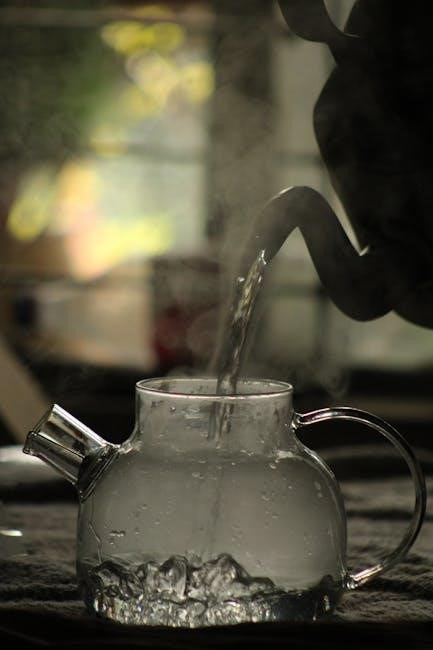
Begin by filling a saucepan with 3 to 4 inches of water and bringing it to a rolling boil; Once boiling‚ carefully remove the saucepan from the heat source․ Allow the water to stand for approximately 30 seconds before gently placing the mouthguard into the hot water․ Submerge the mouthguard completely‚ utilizing a slotted spoon for safe handling․
Precise timing is critical; adhere to the manufacturer’s recommended boiling duration‚ typically ranging from 30 to 60 seconds․ Over-boiling can compromise the mouthguard’s integrity‚ while insufficient boiling may prevent proper malleability․ Monitor the process closely‚ ensuring the mouthguard softens evenly․ Avoid prolonged exposure to the hot water to prevent distortion․
Water Temperature Control
Maintaining the correct water temperature is paramount for successful mouthguard boiling; A rolling boil initially softens the material‚ but removing the saucepan from the heat and allowing a 30-second settling period is crucial․ This prevents overheating and potential warping of the mouthguard․ The water should be hot enough to render the mouthguard pliable‚ yet not so scalding that it damages the material’s structure․
Consistent temperature ensures uniform softening‚ leading to a better fit․ Avoid adding cold water during the process‚ as this can create uneven heating․ Regularly check the water temperature‚ especially if using an electric stove‚ to prevent fluctuations․ Precise control guarantees the mouthguard achieves the ideal consistency for molding․
Boiling Duration Guidelines
Precise boiling duration is vital for achieving a properly softened mouthguard․ While specific times vary by brand‚ a general guideline suggests boiling for approximately 30-60 seconds after the water reaches a rolling boil․ Over-boiling can lead to excessive softening‚ causing the mouthguard to become too thin or lose its shape․ Conversely‚ insufficient boiling results in a rigid mouthguard that doesn’t mold effectively․
Begin with the shorter end of the timeframe and assess the mouthguard’s pliability․ It should be flexible enough to conform to your teeth but retain some structure․ Always refer to the manufacturer’s instructions for the most accurate boiling time․ Careful timing ensures optimal material consistency for a comfortable and secure fit;
Cooling the Mouthguard
After boiling‚ immediate and controlled cooling is crucial for safe handling and effective fitting․ Remove the mouthguard from the hot water using a slotted spoon‚ avoiding direct contact with your hands․ Immediately submerge it in a bowl of cool – not cold – water for approximately 30 seconds․ This halts the softening process and prepares the mouthguard for fitting․
Ensure the water isn’t excessively cold‚ as a drastic temperature change could distort the shape․ Before attempting to fit‚ always check the mouthguard’s temperature to confirm it’s comfortable against your mouth․ A lukewarm temperature is ideal․ Proper cooling prevents burns and allows for a more precise and comfortable molding process‚ maximizing the mouthguard’s protective capabilities․
Optimal Cooling Time
Determining the optimal cooling time is vital for achieving a successful mouthguard fit․ Generally‚ a cooling period of around 30 seconds in lukewarm water is recommended after removing the mouthguard from boiling water․ This duration allows sufficient temperature reduction without compromising the material’s malleability․
However‚ cooling time can slightly vary depending on the mouthguard’s thickness and material composition․ It’s essential to avoid excessively long cooling periods‚ as this can cause the mouthguard to harden and become difficult to mold․ Conversely‚ insufficient cooling may result in a mouthguard that’s too soft and prone to distortion during the fitting process․ Prioritize a temperature that’s comfortable to the touch before proceeding․
Checking for Safe Temperature
Before attempting to fit the mouthguard‚ rigorously check its temperature to prevent burns or discomfort․ The mouthguard should be warm and pliable‚ but not scalding hot․ A simple test involves briefly touching the mouthguard to your wrist – it should feel comfortably warm‚ similar to bathwater․
If the mouthguard feels too hot‚ immediately submerge it in lukewarm water for a few additional seconds to lower the temperature․ Never place a mouthguard that is excessively hot directly into your mouth․ Prioritizing safety is paramount throughout the fitting process․ Ensure the material is adequately cooled to avoid any potential tissue damage or discomfort during the molding and bite registration stages․

Fitting the Mouthguard
After cooling‚ promptly begin the fitting process‚ ensuring a secure and comfortable fit․ This involves carefully placing the mouthguard in your mouth and gently biting down․
Initial Placement and Bite
Begin by placing the softened mouthguard into your mouth‚ centering it over your upper teeth․ Gently close your lips around the mouthguard‚ holding it firmly in place; Apply even biting pressure onto the mouthguard‚ ensuring contact with all your upper teeth․ Avoid biting down too hard initially; a moderate‚ consistent pressure is sufficient to begin the molding process․
Use your tongue to press the mouthguard firmly against the insides of your teeth and the roof of your mouth․ This helps to create a more accurate and customized impression․ Maintain this biting and tongue pressure for the duration recommended by the mouthguard’s instructions – typically around 30 seconds to a minute․ A mirror can be incredibly helpful during this stage to visually confirm proper placement and bite alignment․
Achieving a Secure Fit
Once the initial bite is taken‚ continue using your fingers and tongue pressure to refine the fit․ Gently push the mouthguard against your teeth‚ focusing on areas that feel loose or don’t conform well․ Pay particular attention to the molars‚ ensuring they are fully enveloped by the softened material․ Use your thumbs to press the mouthguard firmly against the outer surfaces of your teeth‚ molding it to their contours․
Simultaneously‚ use your tongue to press the mouthguard against the palate (roof of your mouth)․ This creates a secure suction and prevents the mouthguard from shifting during use․ Repeat this process several times‚ gradually improving the fit with each attempt․ Remember to breathe through your nose during this process for comfort and control․
Using Fingers and Tongue Pressure
After placing the cooled mouthguard‚ utilize a combination of finger and tongue pressure to mold it precisely to your teeth․ Employ your fingers to gently but firmly press the mouthguard against all tooth surfaces – both the front and sides․ This ensures comprehensive contact and a secure hold․ Simultaneously‚ actively use your tongue to push the mouthguard upwards against the roof of your mouth‚ creating a suction effect․
This dual-action technique is crucial for achieving a customized fit․ Continue applying pressure for several minutes‚ intermittently biting down to further refine the shape․ Focus on areas that feel loose or uneven‚ concentrating your efforts there․ Consistent pressure will help the mouthguard adapt to your unique dental structure․
Checking for Comfort and Retention
Once you believe the mouthguard is properly fitted‚ thoroughly assess its comfort and retention․ Attempt to speak while wearing it; speech should be slightly impeded‚ but not excessively muffled or distorted․ The mouthguard shouldn’t cause any sharp pain or irritation to your gums‚ cheeks‚ or jaw․ Gently try to dislodge it with your tongue – it should resist movement and stay securely in place․
Open and close your jaw‚ simulating chewing motions‚ to ensure it remains firmly seated․ If it easily comes loose‚ repeat the boiling and fitting process․ A well-fitted mouthguard is paramount for effective protection‚ so prioritize a snug‚ comfortable‚ and secure fit․ Don’t compromise on these aspects!
Troubleshooting Common Issues
Addressing fit problems is crucial; a poorly fitted mouthguard compromises protection․ Re-boiling and refitting often resolves issues like discomfort or a loose fit‚ ensuring optimal safety․
Mouthguard Doesn’t Fit Properly
If your mouthguard doesn’t fit correctly after the initial boiling and fitting attempt‚ don’t despair! It’s a common issue easily addressed․ The most frequent cause is insufficient molding during the fitting process․ Carefully reheat the mouthguard following the original boiling instructions – ensuring the water reaches a rolling boil‚ then letting it stand for 30 seconds before submersion․
Upon removal‚ quickly re-attempt the fitting process‚ applying firm but gentle pressure with your fingers and tongue to mold the mouthguard to the contours of your teeth and gums․ Pay close attention to areas that feel loose or don’t conform to your mouth’s shape․ Repeat the boiling and fitting process up to two or three times‚ but avoid excessive reheating‚ as this can damage the material․ If repeated attempts fail‚ consider a different mouthguard style or consulting a dental professional․
Mouthguard is Uncomfortable
An uncomfortable mouthguard can significantly detract from its protective benefits and your overall experience․ Often‚ discomfort stems from pressure points or areas where the mouthguard isn’t fully molded to your teeth․ If this occurs‚ reheat the mouthguard using the boiling process – a rolling boil followed by a 30-second cooling period – to regain its malleability․
During refitting‚ concentrate on the areas causing discomfort‚ applying focused pressure with your fingers and tongue to create a smoother‚ more customized fit․ Trim any excess material carefully with sharp scissors‚ ensuring you don’t compromise the mouthguard’s protective coverage․ If discomfort persists‚ a slight adjustment by a dentist might be necessary․ Remember‚ a properly fitted mouthguard should feel snug‚ not painful․
Mouthguard Falls Out During Use
If your mouthguard repeatedly falls out during activity‚ it indicates an insufficient fit and requires immediate attention․ This compromises its protective function‚ leaving you vulnerable to injury․ Re-boil the mouthguard following the initial fitting instructions – utilizing a saucepan with boiling water and a 30-second cooling phase – to restore its moldability․
Pay close attention to extending the mouthguard further back towards your molars during refitting‚ ensuring a secure grip․ Apply firm‚ even pressure with your fingers and tongue to create a tighter seal․ Consider if trimming is needed to improve the fit around brackets or other dental work․ If the issue persists‚ consult a dentist for professional adjustments; a poorly fitting mouthguard is ineffective and potentially dangerous․
Post-Fitting Care and Maintenance
Proper cleaning and storage are vital for extending your mouthguard’s lifespan and maintaining hygiene․ Regular cleaning prevents bacteria buildup‚ ensuring a safe and comfortable experience․
Cleaning Your Mouthguard
Maintaining a clean mouthguard is crucial for preventing bacterial growth and ensuring good oral hygiene․ After each use‚ rinse the mouthguard thoroughly with cool water to remove any debris or saliva․ Avoid using hot water‚ as it can distort the shape of the mouthguard․
For a more comprehensive clean‚ gently brush the mouthguard with a toothbrush and mild soap or a specialized mouthguard cleaner․ Avoid abrasive cleaners‚ as they can scratch the surface․ Ensure all soap residue is removed before storing․
Regular disinfection is also recommended․ You can soak the mouthguard in a diluted mouthwash solution or use a commercially available mouthguard disinfectant․ Always follow the manufacturer’s instructions for disinfection․ Proper cleaning extends the lifespan of your mouthguard and protects your oral health․
Storage Recommendations
Proper storage significantly impacts the longevity and hygiene of your boiled mouthguard․ Always store your mouthguard in a well-ventilated‚ protective case when not in use․ This prevents contamination and protects it from damage․ Avoid leaving it exposed to direct sunlight or extreme temperatures‚ as these can alter its shape and fit․
The case should allow for airflow to prevent moisture buildup‚ which can encourage bacterial growth․ Regularly clean the storage case with soap and water to maintain a sanitary environment․ Do not store the mouthguard with other dental appliances‚ as cross-contamination can occur․
Keep the case in a safe location‚ away from pets and young children․ Following these storage guidelines will help preserve your mouthguard’s integrity and ensure it remains ready for use․
Lifespan of a Boiled Mouthguard
The lifespan of a boiled mouthguard varies depending on usage frequency‚ intensity‚ and individual habits․ Generally‚ a properly maintained boil-and-bite mouthguard can last for approximately 6-12 months with regular use․ However‚ signs of wear and tear‚ such as cracks‚ tears‚ or a diminished fit‚ indicate it’s time for a replacement․
Frequent‚ high-impact use will shorten the lifespan․ Regularly inspect your mouthguard for any damage after each use․ If you notice any deterioration‚ discontinue use immediately and replace it․ A compromised mouthguard offers reduced protection and may increase the risk of injury․
Even without visible damage‚ consider replacing your mouthguard annually to ensure optimal performance and hygiene․